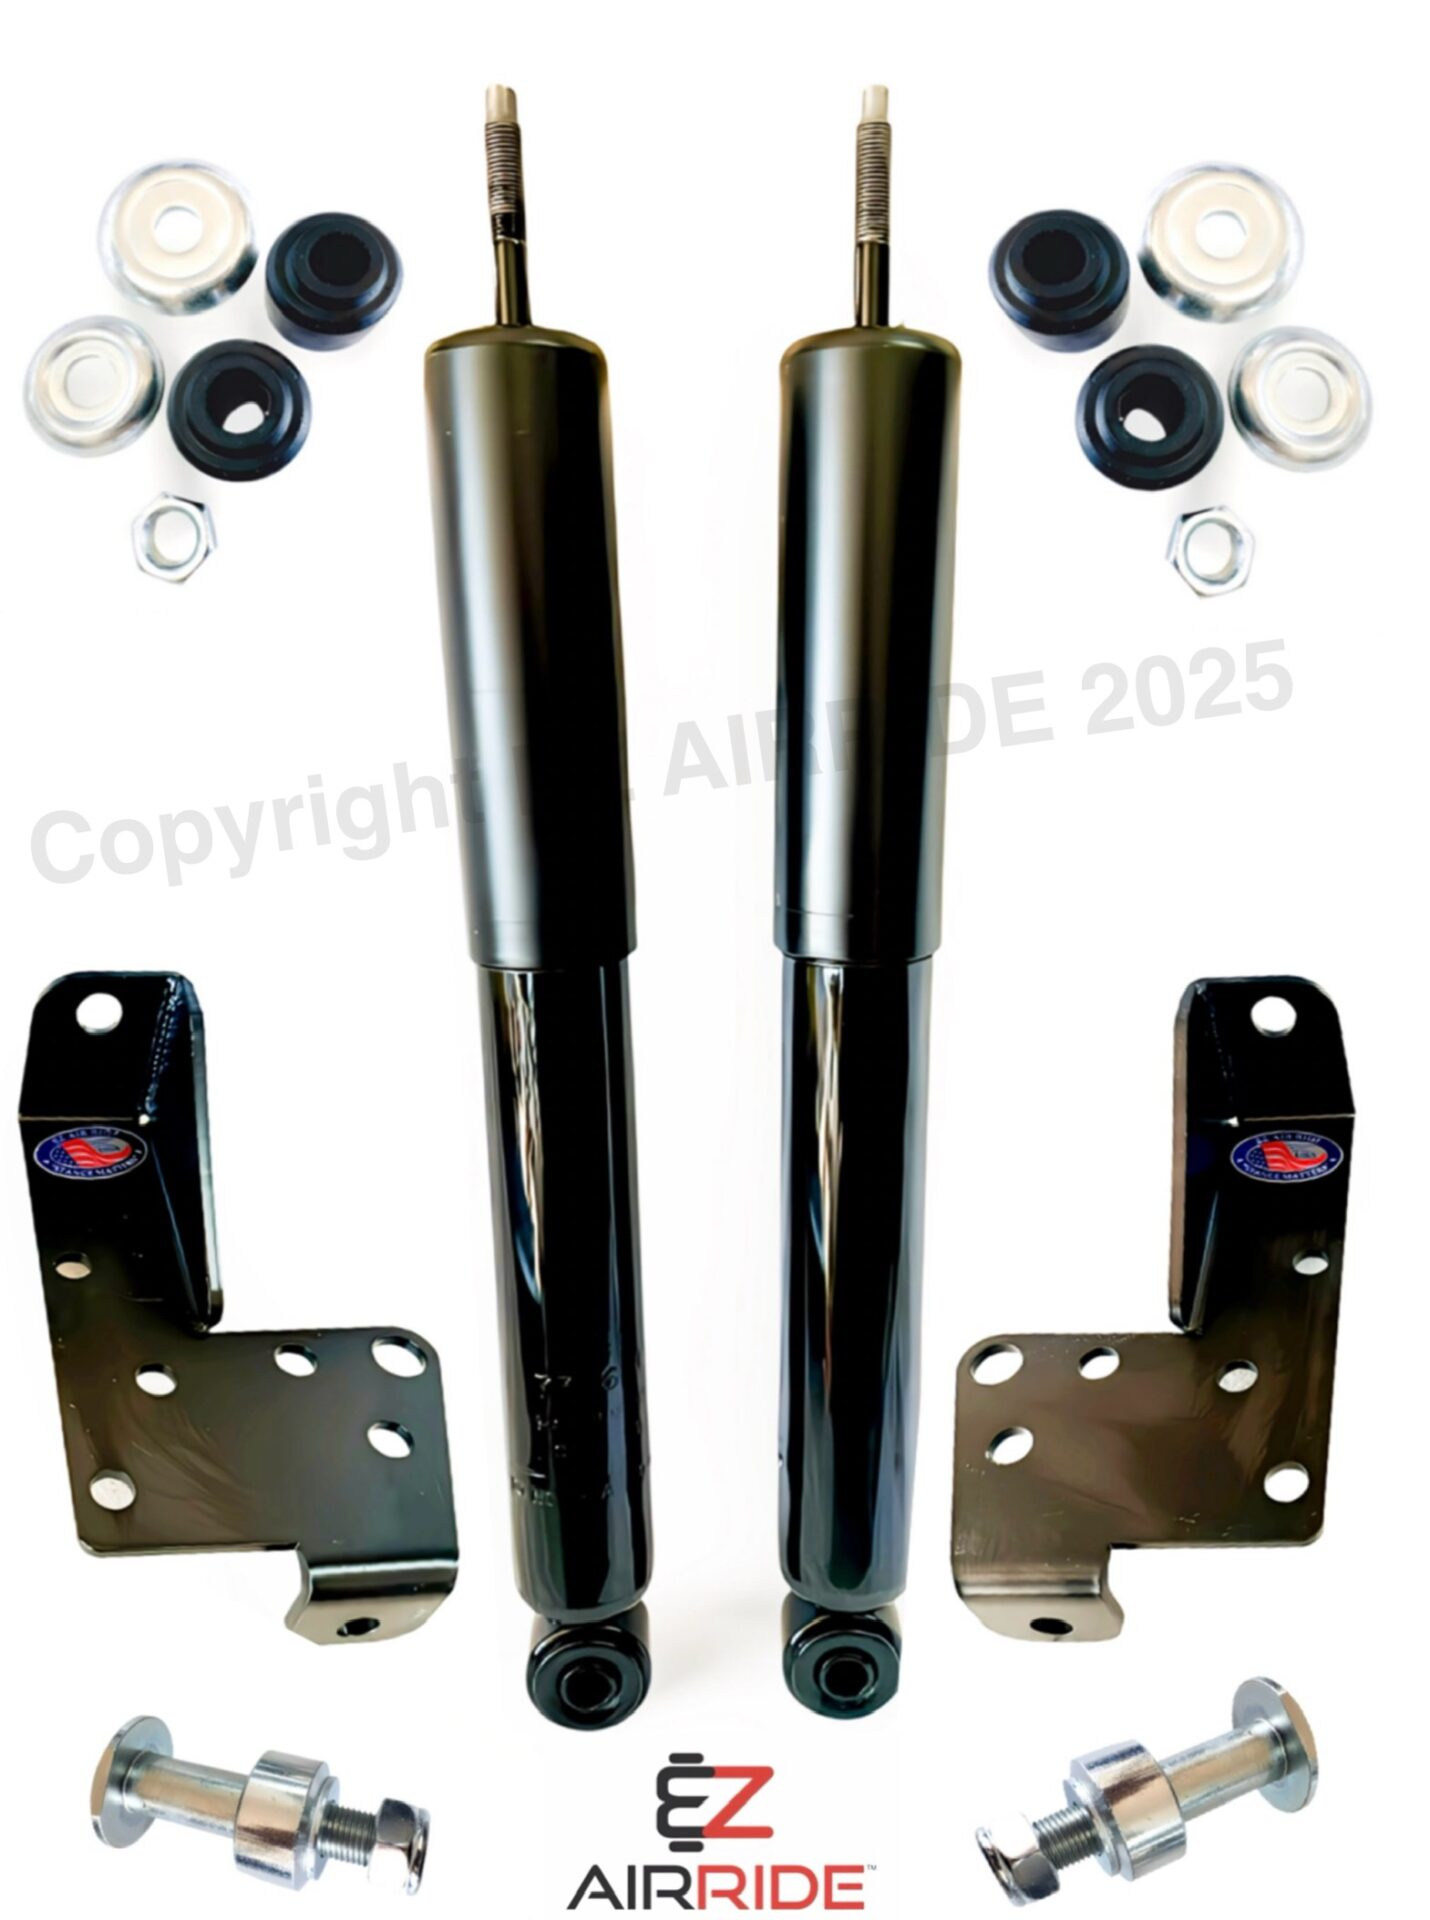
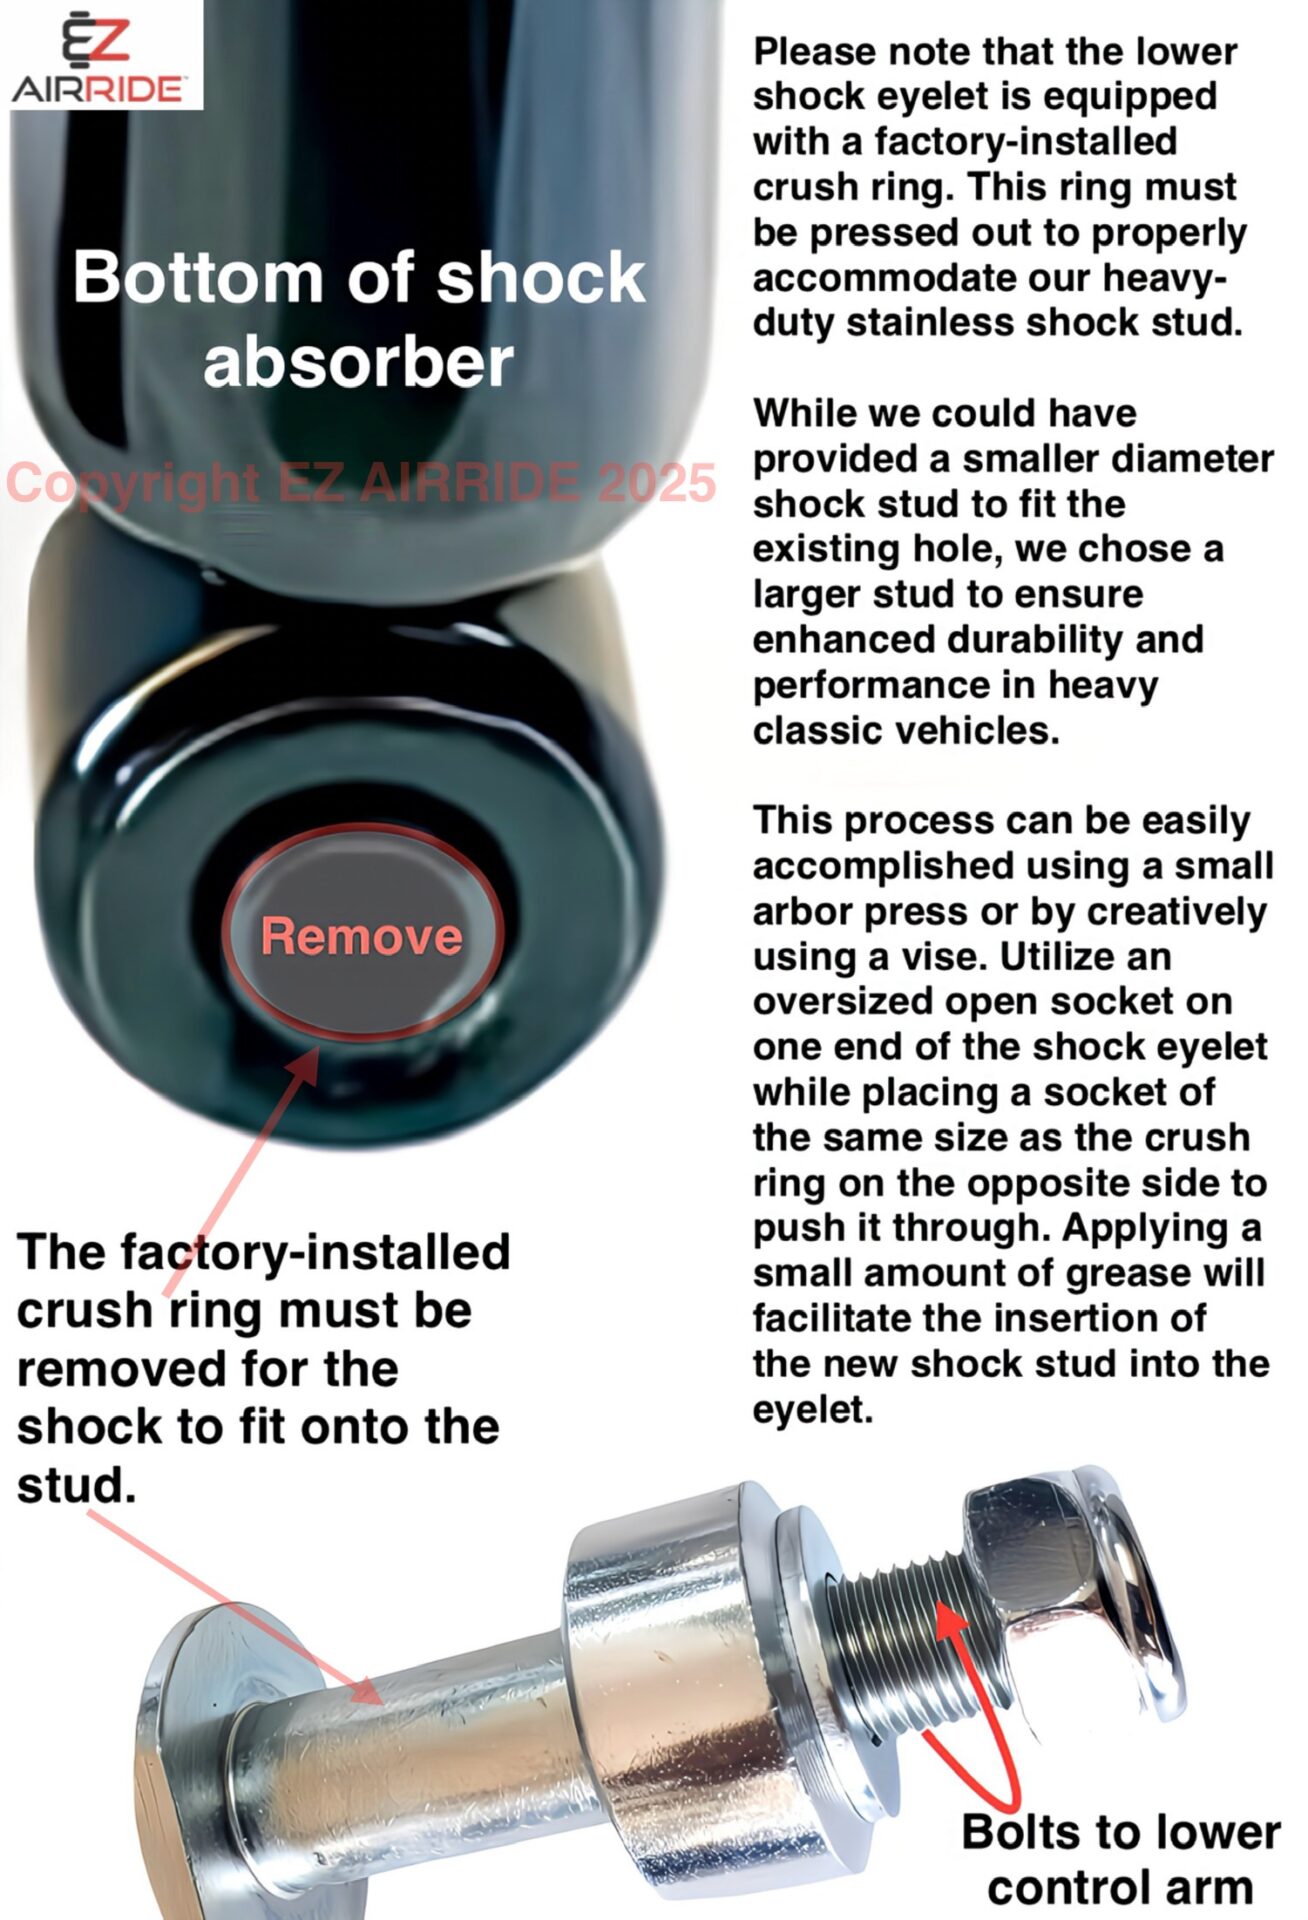

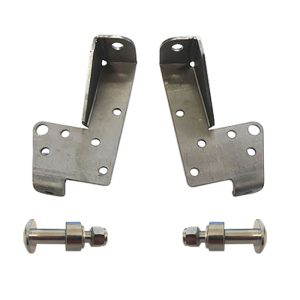
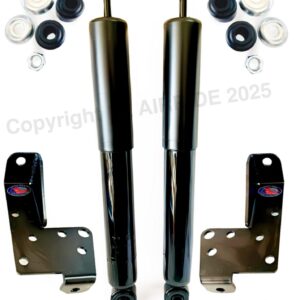
FRONT SHOCK RELOCATION KIT: The X-frame front shock relocation kit is designed to enhance your classic vehicle’s cruising performance with air bags. It includes both shock absorbers, dust covers, lower control arm stainless studs, and steel upper shock towers. This kit is compatible with all 1958-1964 X-frame classic cars, station wagons and El Camino’s that use air springs in the front, primarily serving as a dampeners for the air suspension system.
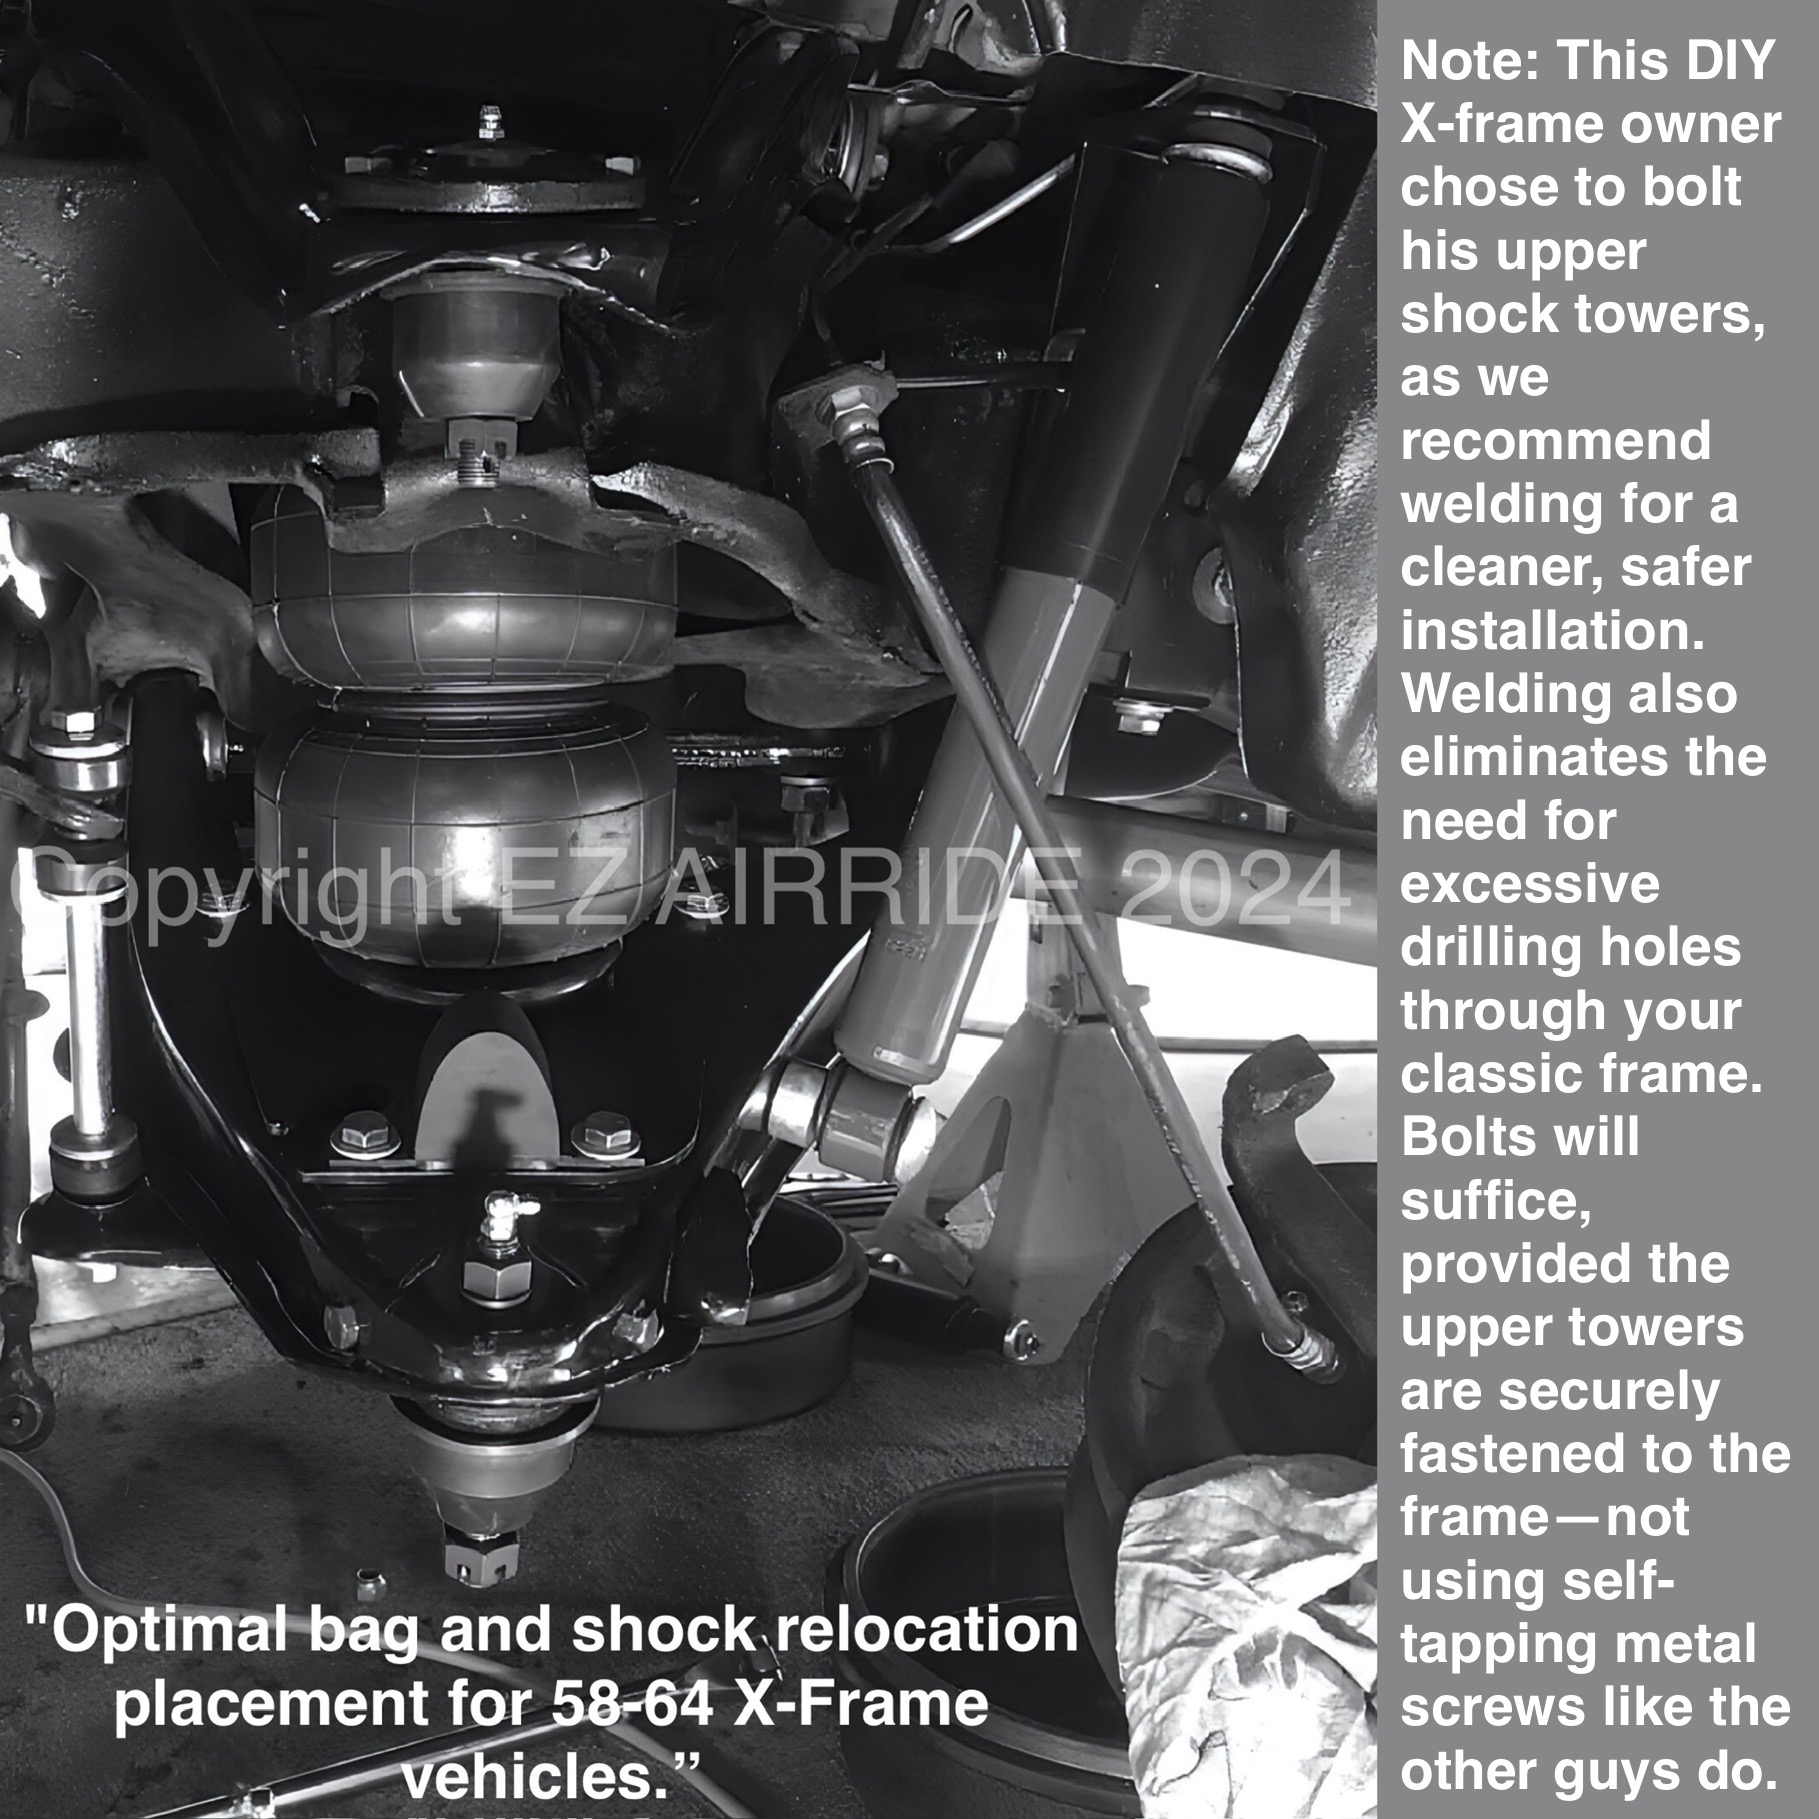
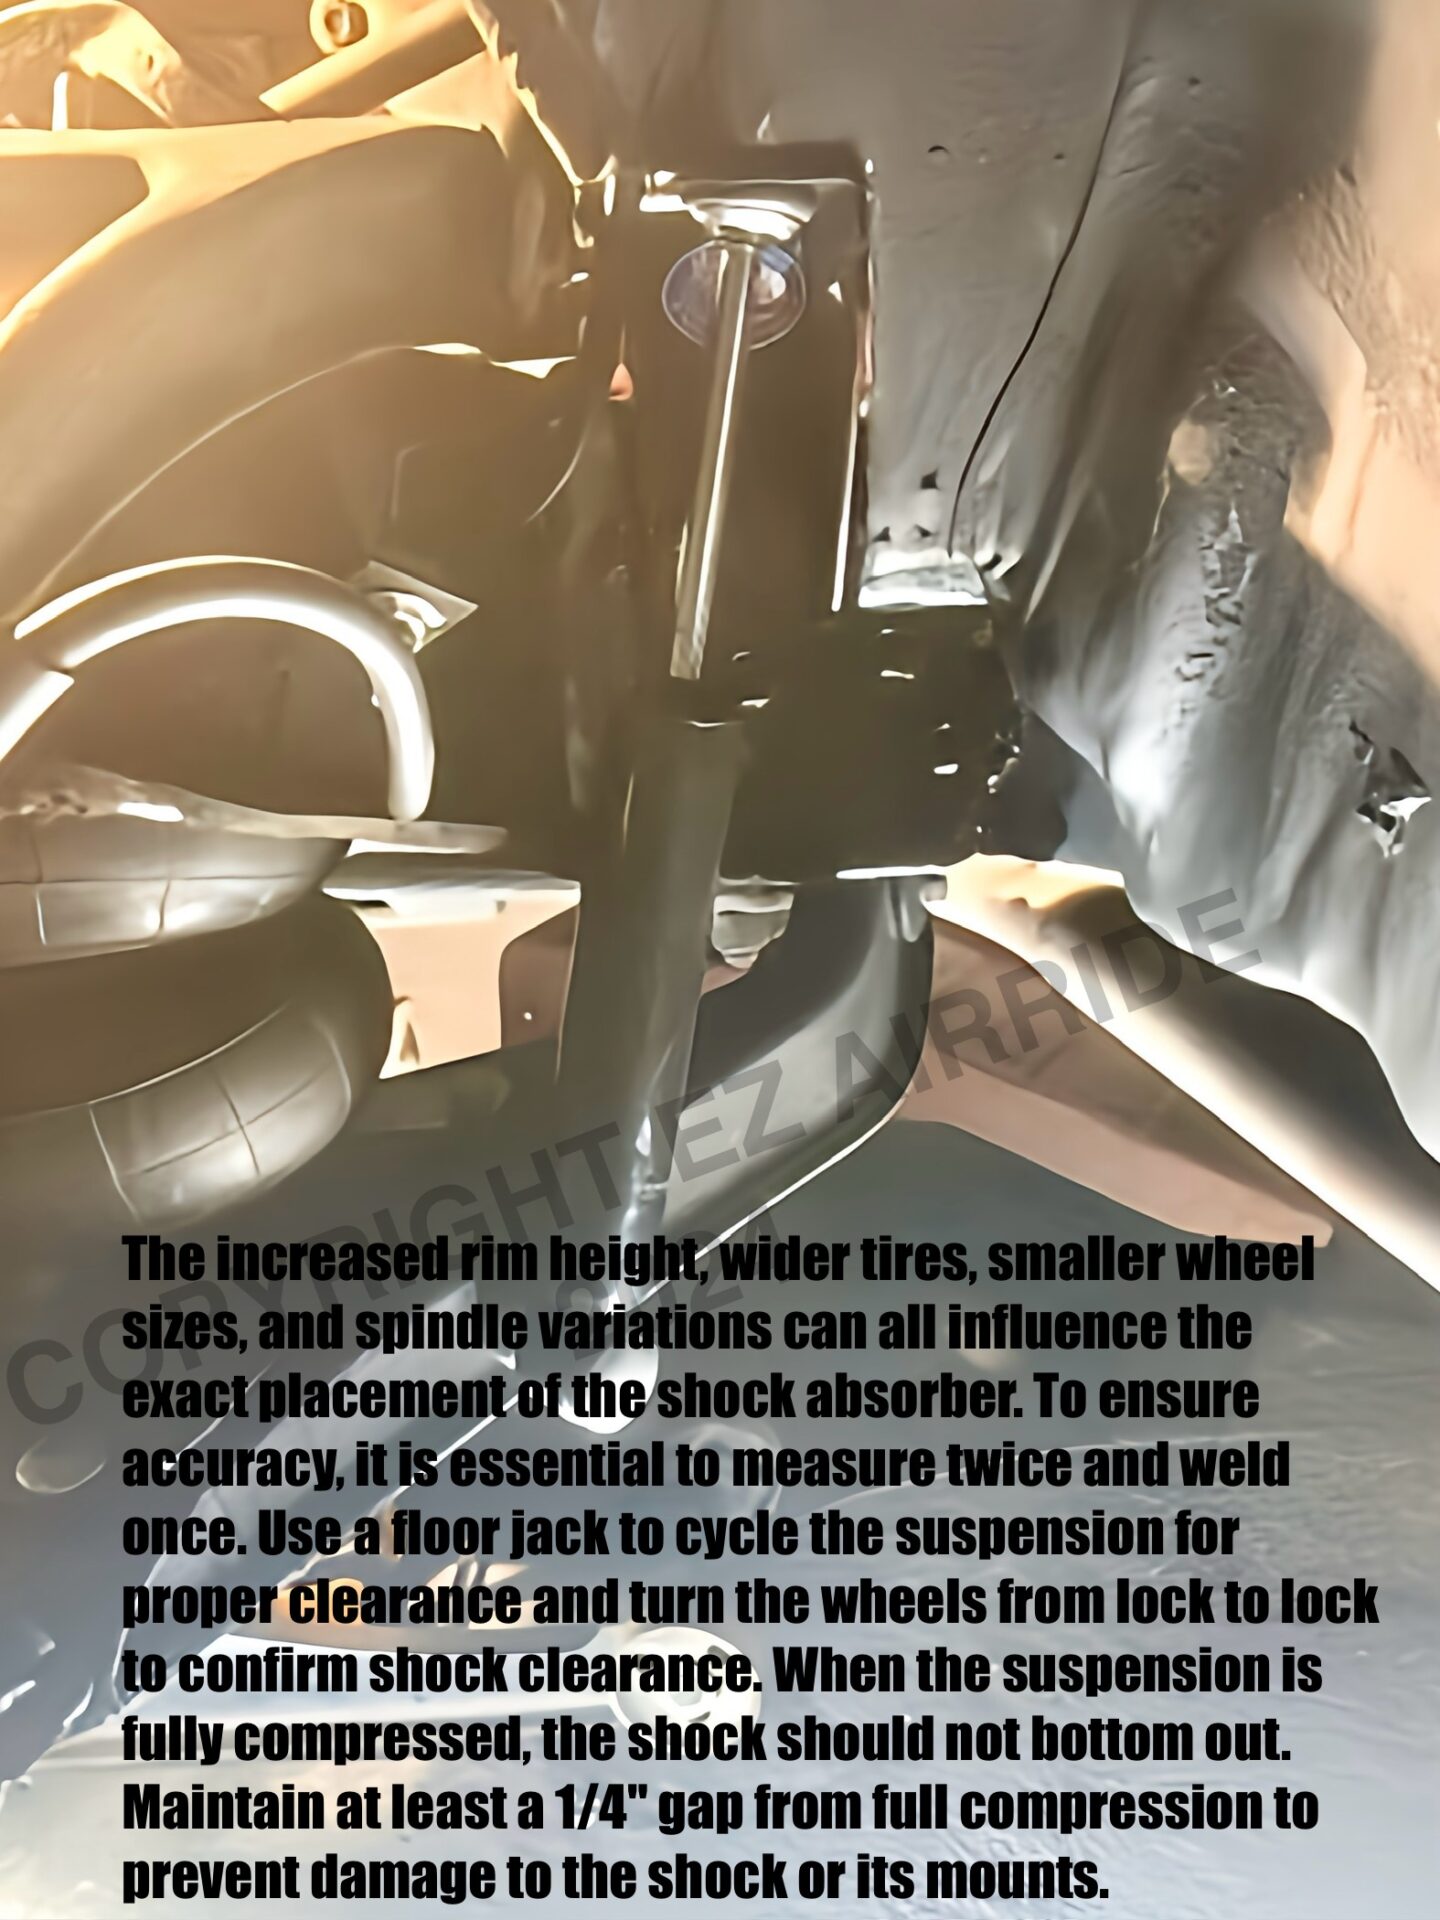
The lower shock mounting studs will bolt to the factory lower control arm, securing the bottom of the shock. The upper shock towers will be welded to the frame, capturing the top threaded shaft of the shock absorber. Keep in mind that each classic vehicle may present unique challenges when relocating and positioning the upper shock towers and lower shock studs. Potential obstacles may include factory sway bars, inner wheel wells, brake lines, larger aftermarket disc brakes, oversized wheels, etc. Therefore, if you’re a novice builder, consulting with a professional builder or a certified shop can provide valuable guidance and ensure a successful installation of your front shocks.
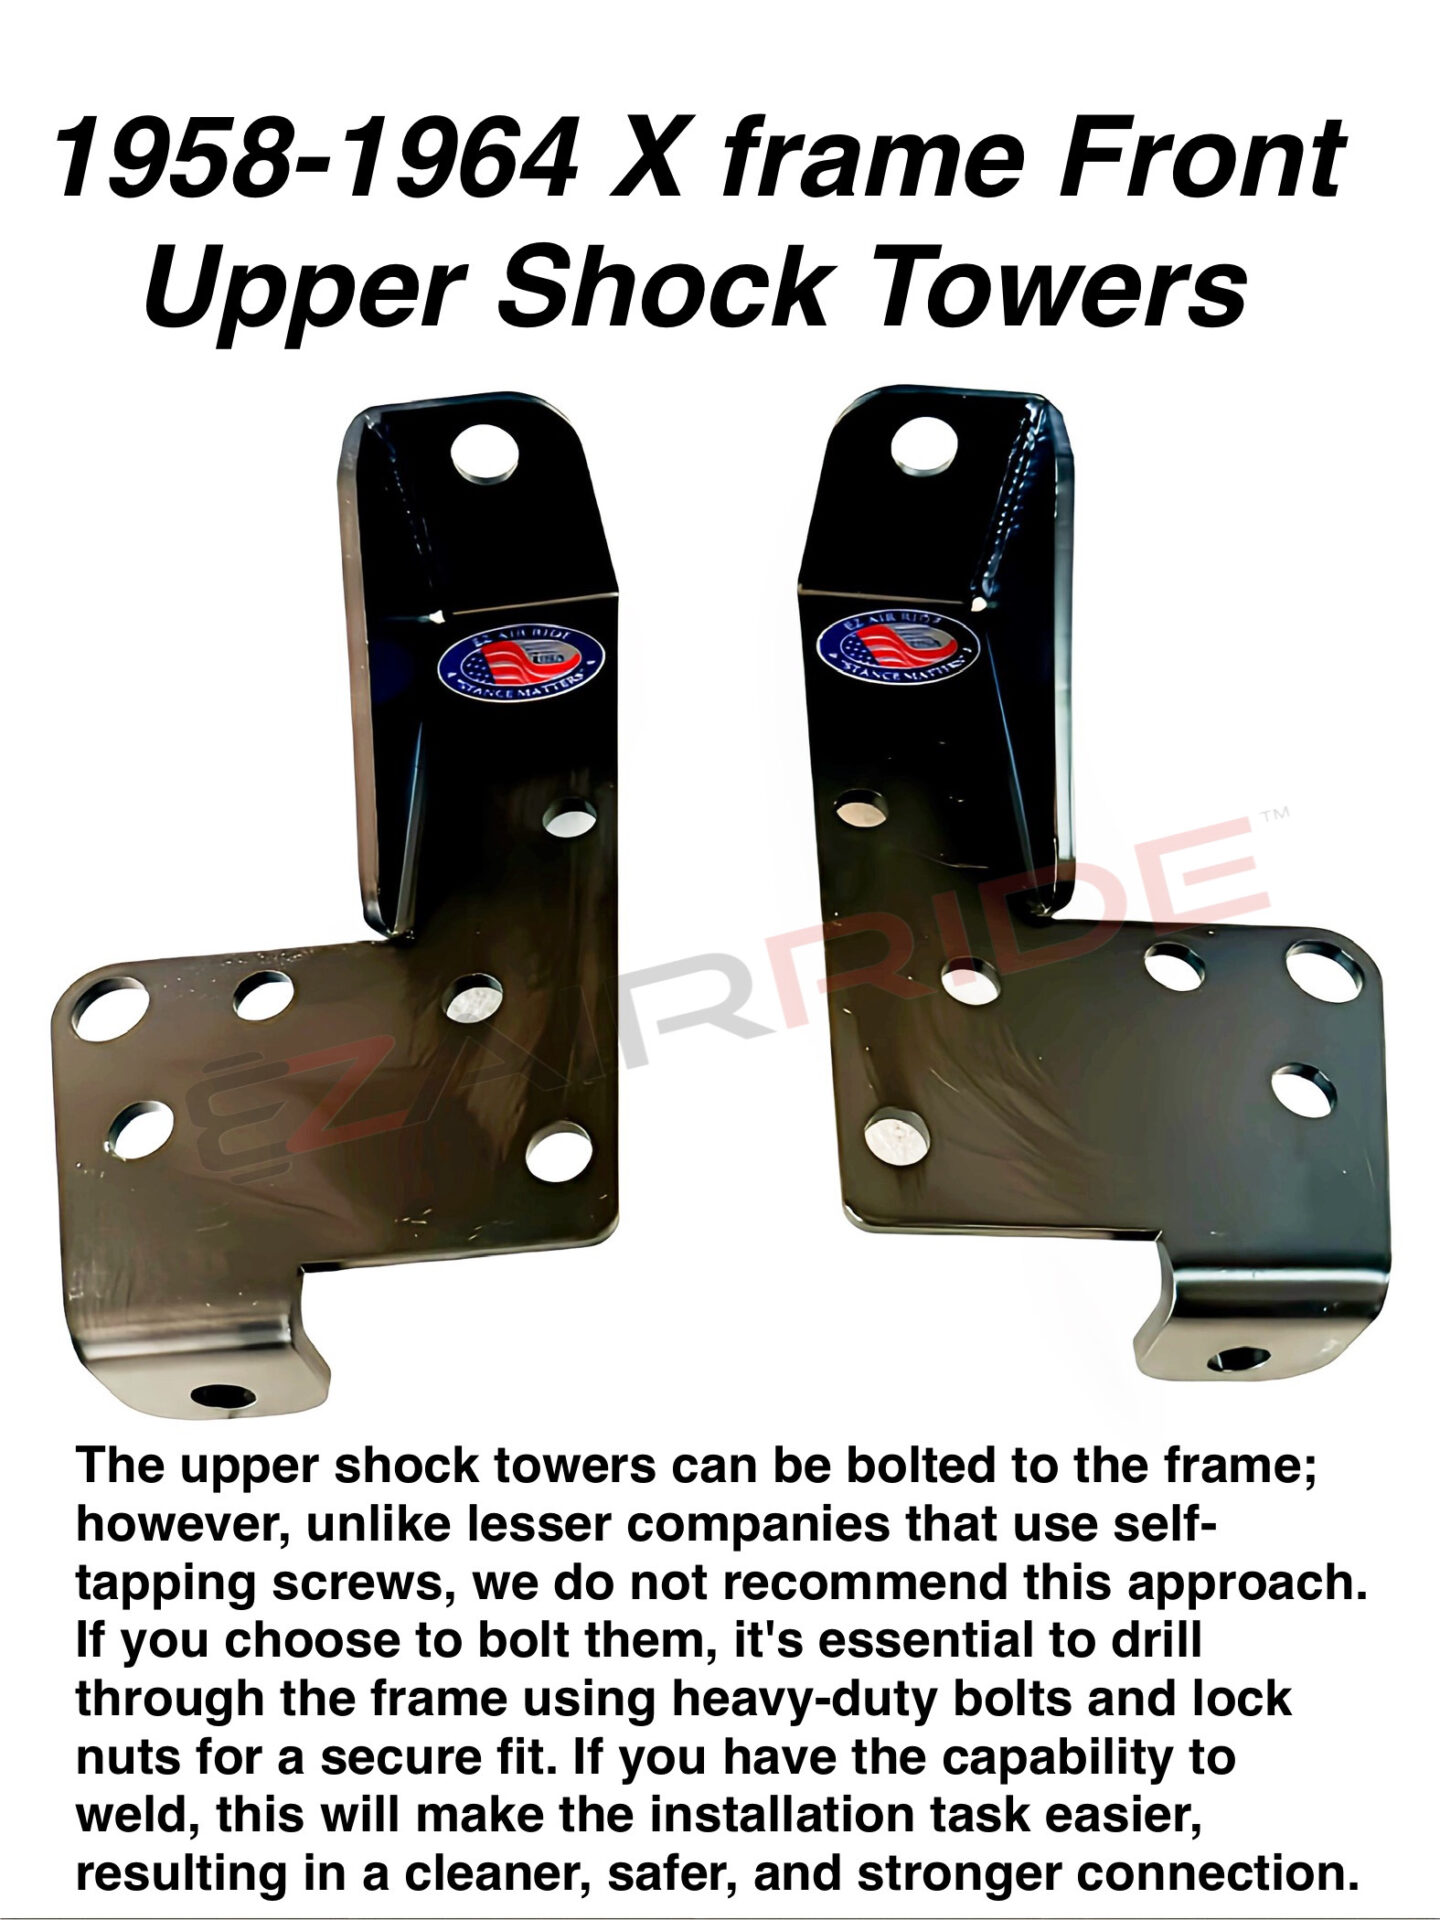
THE UPPER SHOCK TOWERS: These are designed to be affixed to the upper frame via welding. While our X-frame brackets come with placement holes that in theory, could be bolted, we advise filling these holes with welds for a much stronger bond and then smoothing them out for that professional finish. Suppose you do not have access to a welder. In this case, it is feasible to use the holes to bolt the bracket. However, if you choose this installation method, we recommend fully securing the shock towers with bolts running from the front side to the back side of the frame. Just keep in mind that if you decide to bolt them on, there will be more holes in your iconic Impala’s frame than in a chunk of Swiss cheese.
CLOSING REMARKS ON FRONT SHOCK INSTALLATION: The advice provided is relevant for the majority of our vintage vehicles during the process of relocating the front shock for air suspension installation. There may be some disparities among early classic vehicles, particularly between rear-steer and front-steer models during shock installation. Most well-known models, such as early X-frame Impala’s, Chevelle’s, Monte Carlos, Caprice Classics, and similar vehicles, are typically categorized as front-steer models. This means that the steering components are usually positioned in front of the wheels, near the core support, leaving more clearance for a shock to be mounted outside of the airbag onto the backside of the control arm facing the firewall. On the other hand, other early classics, such as 1958-1970 Cadillacs and similar models, are considered rear-steer vehicles, meaning that most of the steering components are located behind the wheels. This arrangement leaves little room for mounting a shock. As a result, many professional builders opt to mount the shock up front, facing the bumper—similar to the approach taken by Cadillac engineers when they introduced factory air suspension on several early models between late 1957 and 1960. Given the diverse designs of vehicles made over half a century ago and different manufacturing practices across the country, potential obstacles—such as brake lines, sway bars, or oversized wheels—may arise. Therefore, we want to reiterate that consulting with a professional builder or a certified shop is advisable when planning to relocate your front shocks.
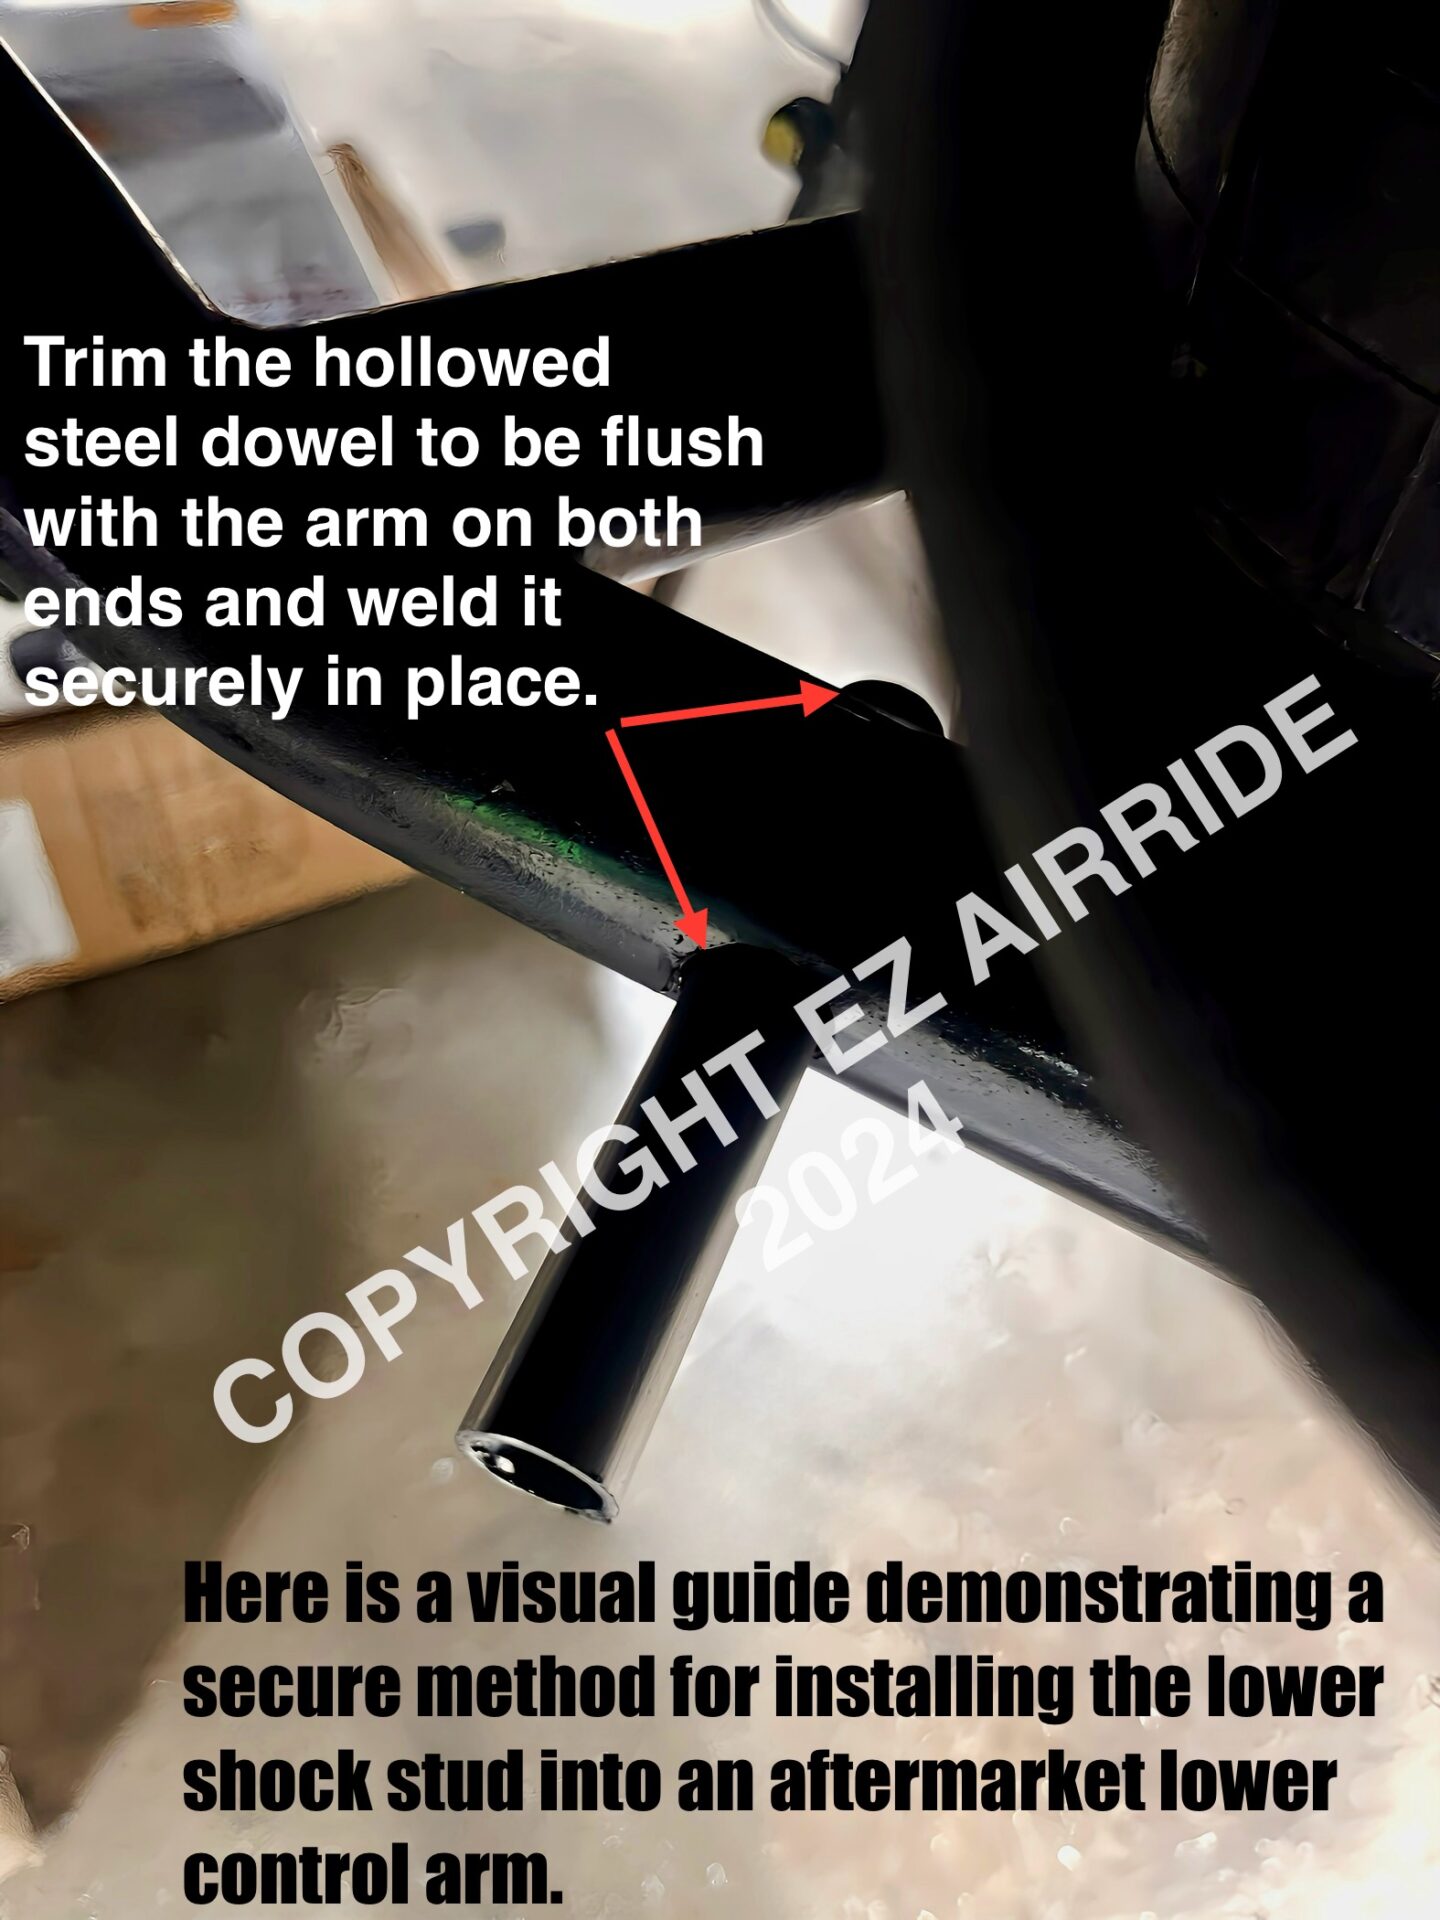
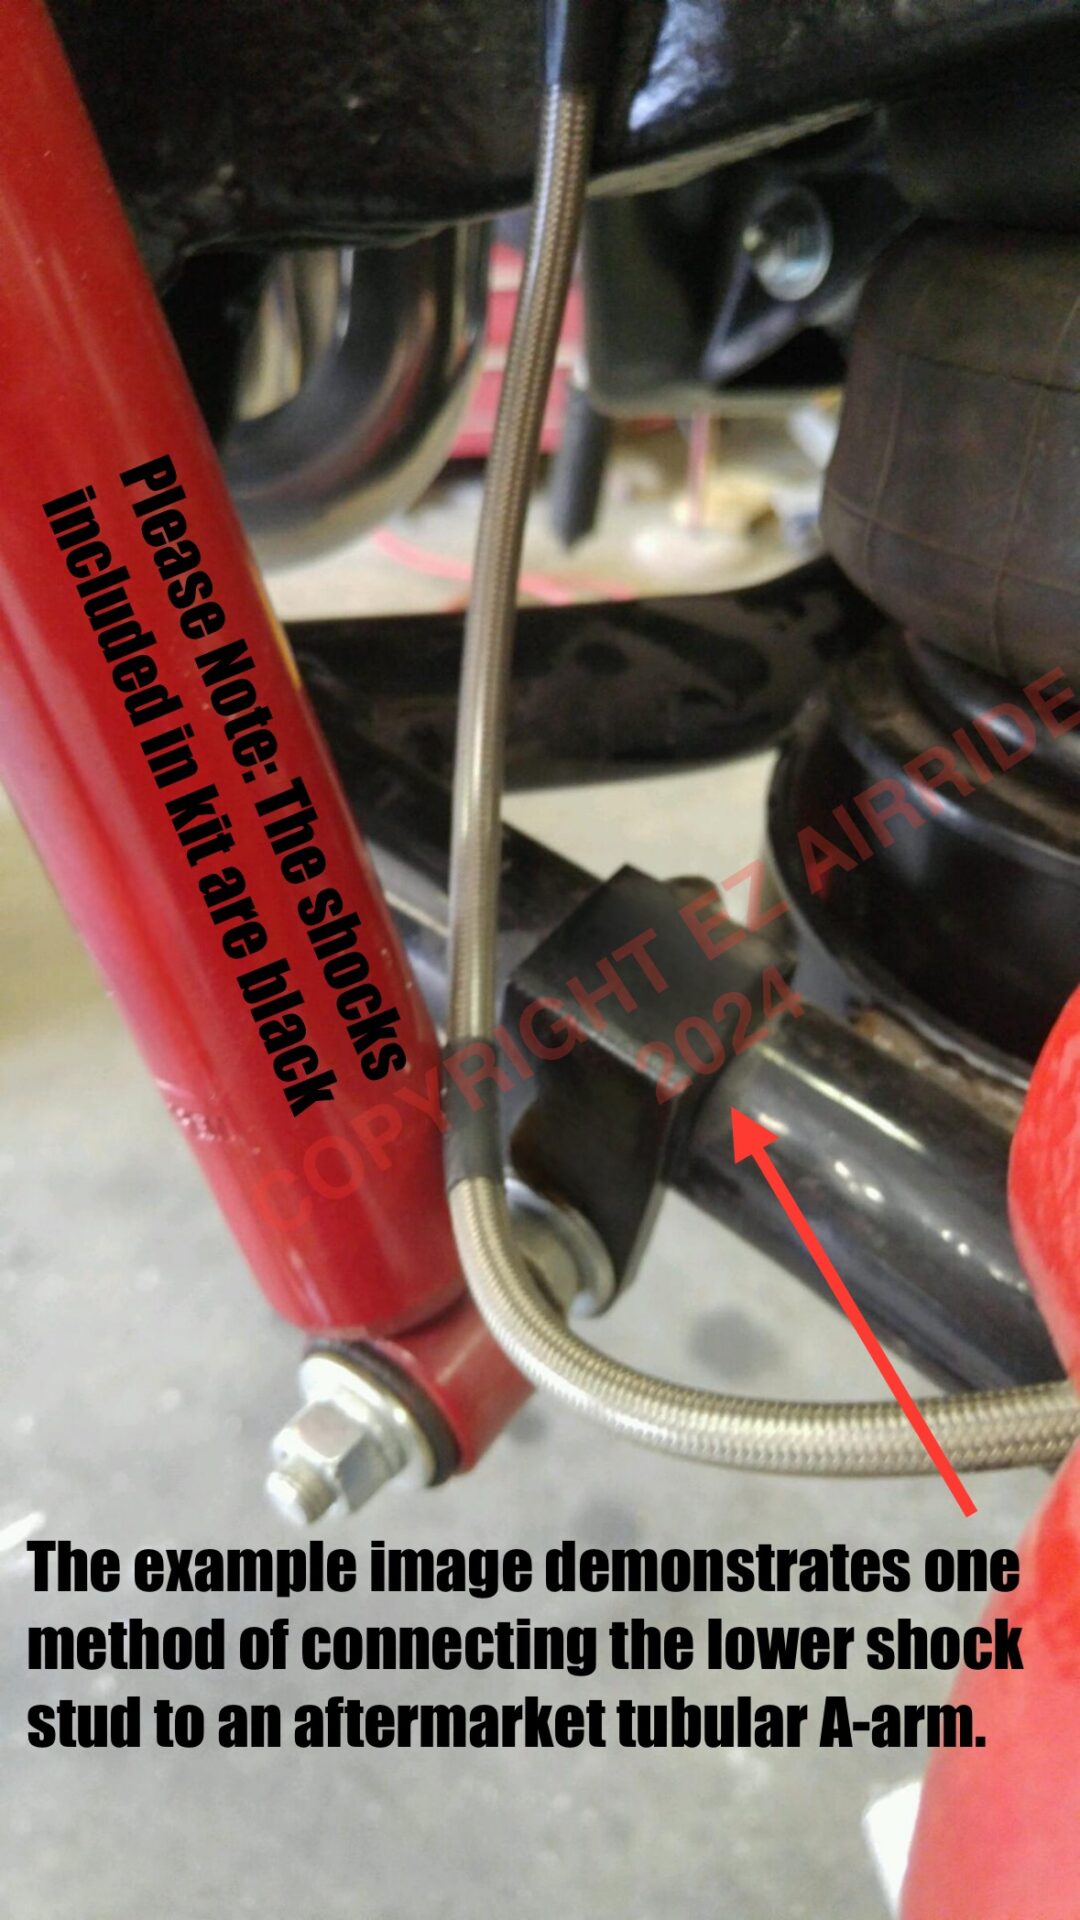
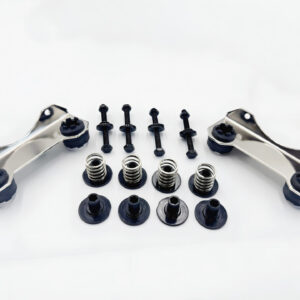
AFTERMARKET TUBULAR CONTROL ARMS: If your vehicle has aftermarket lower arms, or you’re planning to use aftermarket tubular lower arms, some light fabrication will be necessary to secure the lower shock stud to the arm. This process would involve drilling a hole through the aftermarket tubular arm and inserting a DOM tube of the correct size to support the lower stud, which will then need to be welded in place. Alternatively, you may explore fabricating tabs on the underside of the tubular arms to secure the stud. If you haven’t already purchased those fancy tubular arms, we recommend refurbishing your original arms by painting them and possibly equipping them with new ball joints. This approach simplifies the process of having to grind off the new powder coat and welding onto those new lower tubular arms, potentially saving you a few hundred dollars. However, if your primary goal is to showcase your vehicle’s new front lower tubular arms at a car show, they will certainly look impressive to the onlookers who admire them while lying underneath your vehicle.

Reviews
There are no reviews yet.